pedar support
Find answers to your questions on how to utilize pedar
Find answers to your questions on how to utilize pedar
pedar is made for efficient, reliable in-shoe pressure measurement in research, development or medical scenarios. The system has been validated during demanding and complex applications that cover most use-cases. The state of the art measurement quality has been proven and published by all leading experts and journals. For unusual applications, we recommend to consult with our experts to prevent damage or biased data.
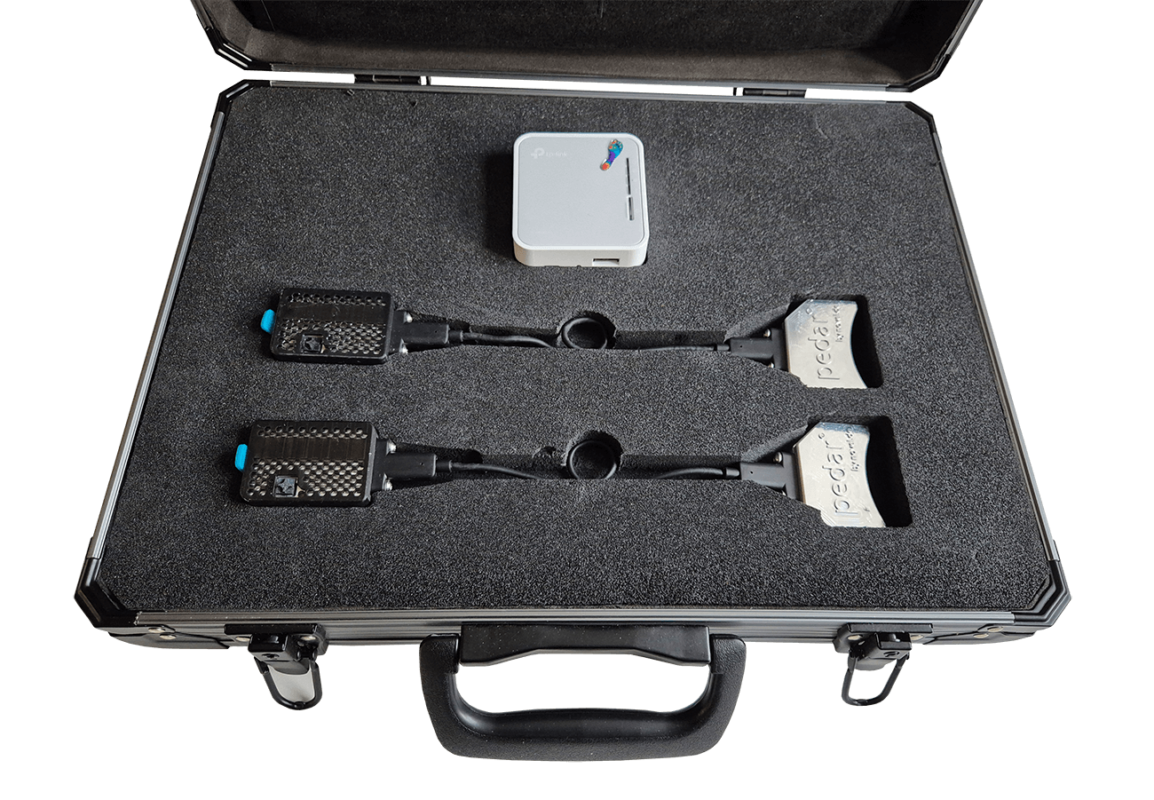
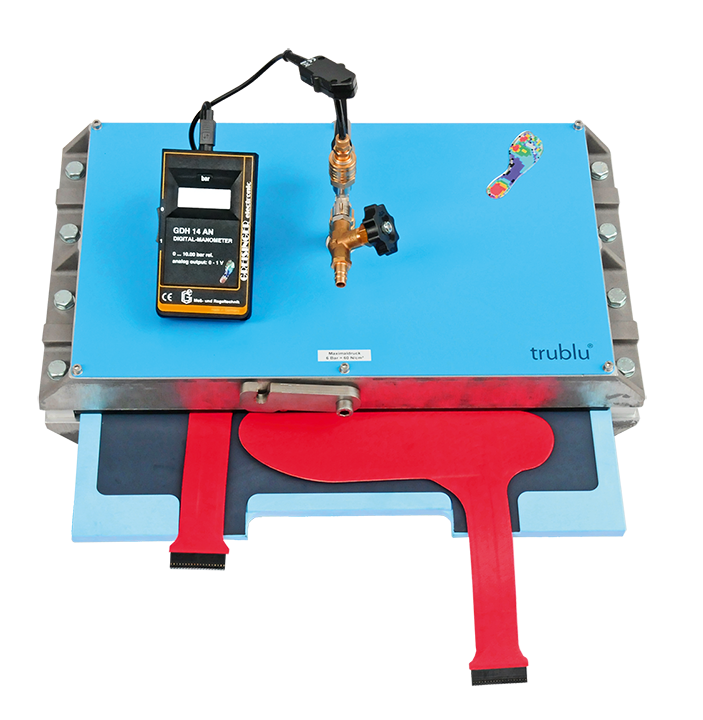
Inside the pedar box, you will find:
To prepare the system before a measurement:
The devices turn off while connected to power, if they are fully charged.
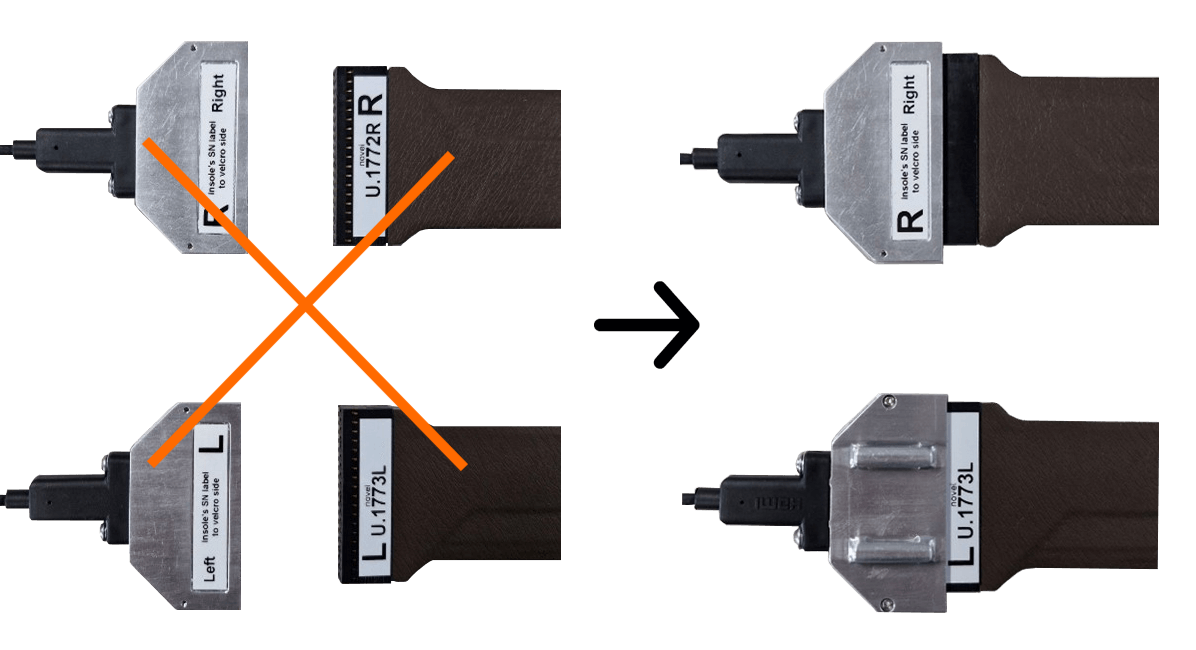
The pedar system requires 2 sets of electronics (plidar + cable + connector). Make sure to connect the correct side.
Each plidar device has a joystick with the following conventions:
To turn on the device, push IN for 1 second. It might take 2-3 seconds until the system is on
To turn off the device, push joystick DOWN for 2 seconds. This does not work when measurement is running
To hard restart the device, push joystick IN for 25 seconds.

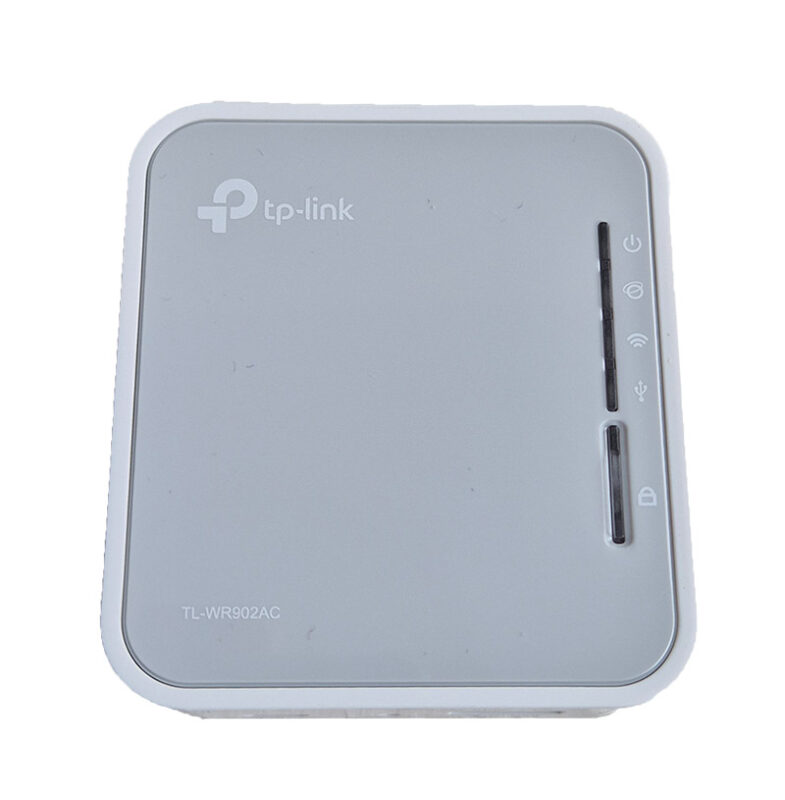
After connecting the WIFI router to power, find the router in the list of available WIFi connections. The name of the router and the PIN code can be found on a label on the router.
The pre-set name is plidarRouterC###.
Connect to the router and enter the password c12345678.
Shoes influence the measurement. After inserting the sensors, make sure to “zero” to compensate the level of pressure inside the shoe.
Thread the Velcro straps through the eyelets of the insole connector
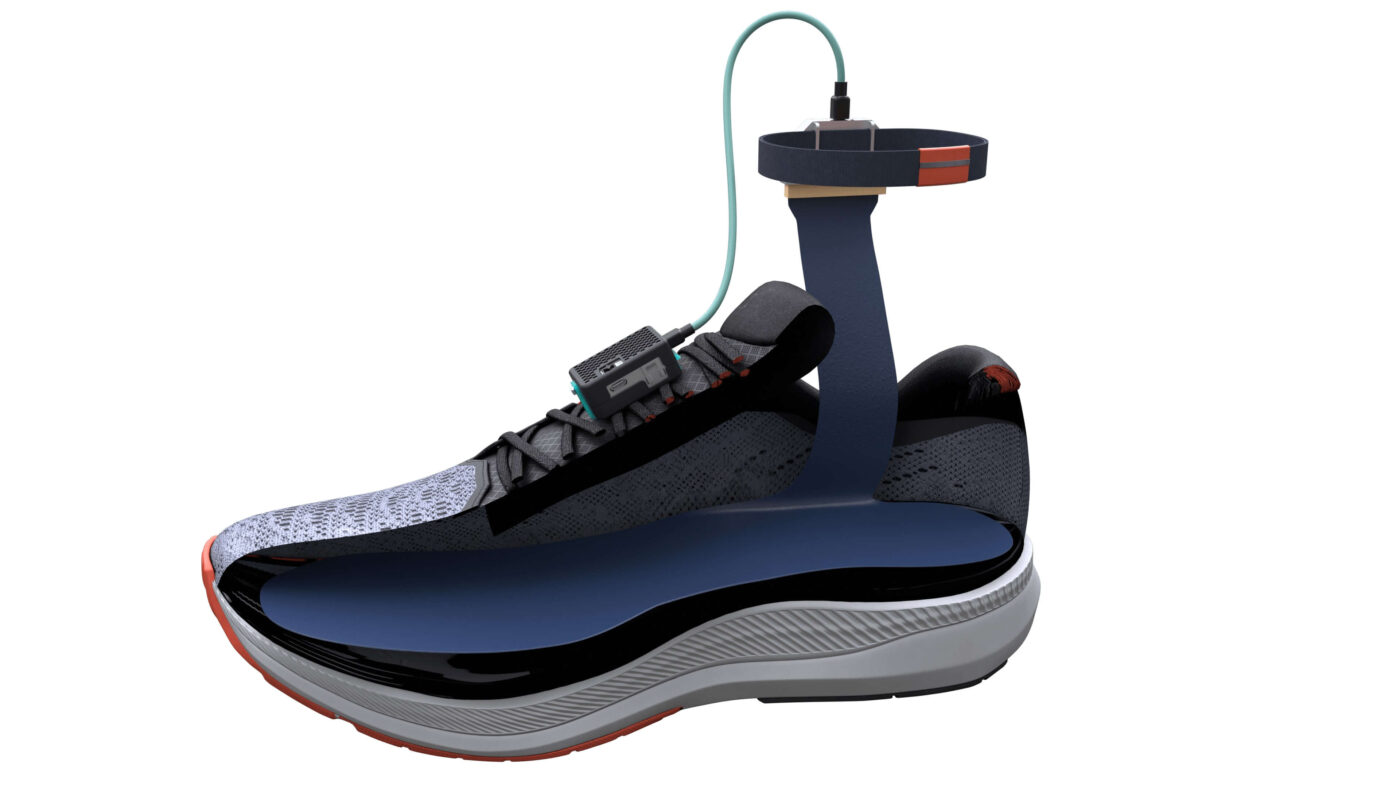
Turn on the plidar by pressing the joystick in.
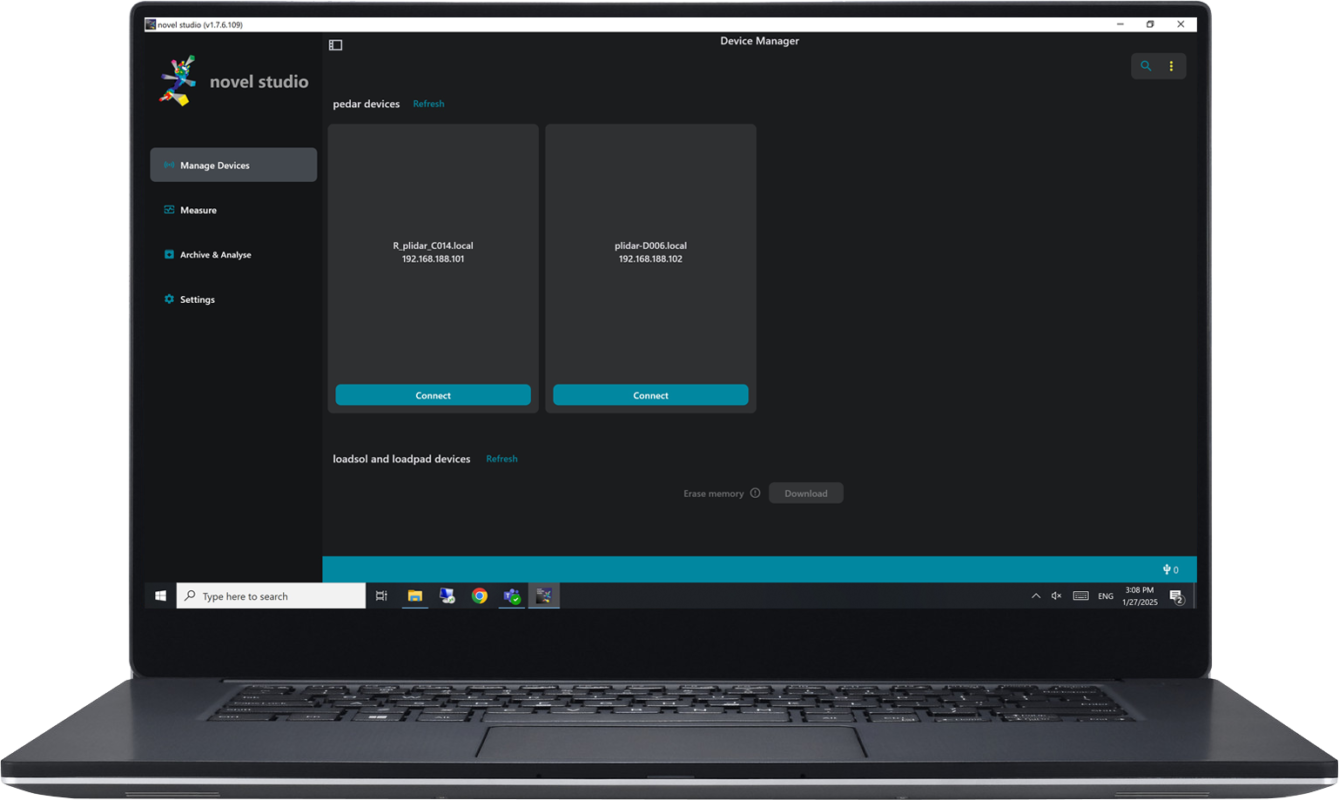
Launch the app and make sure you are connected to the router
Search for devices by clicking “refresh” and select the two devices
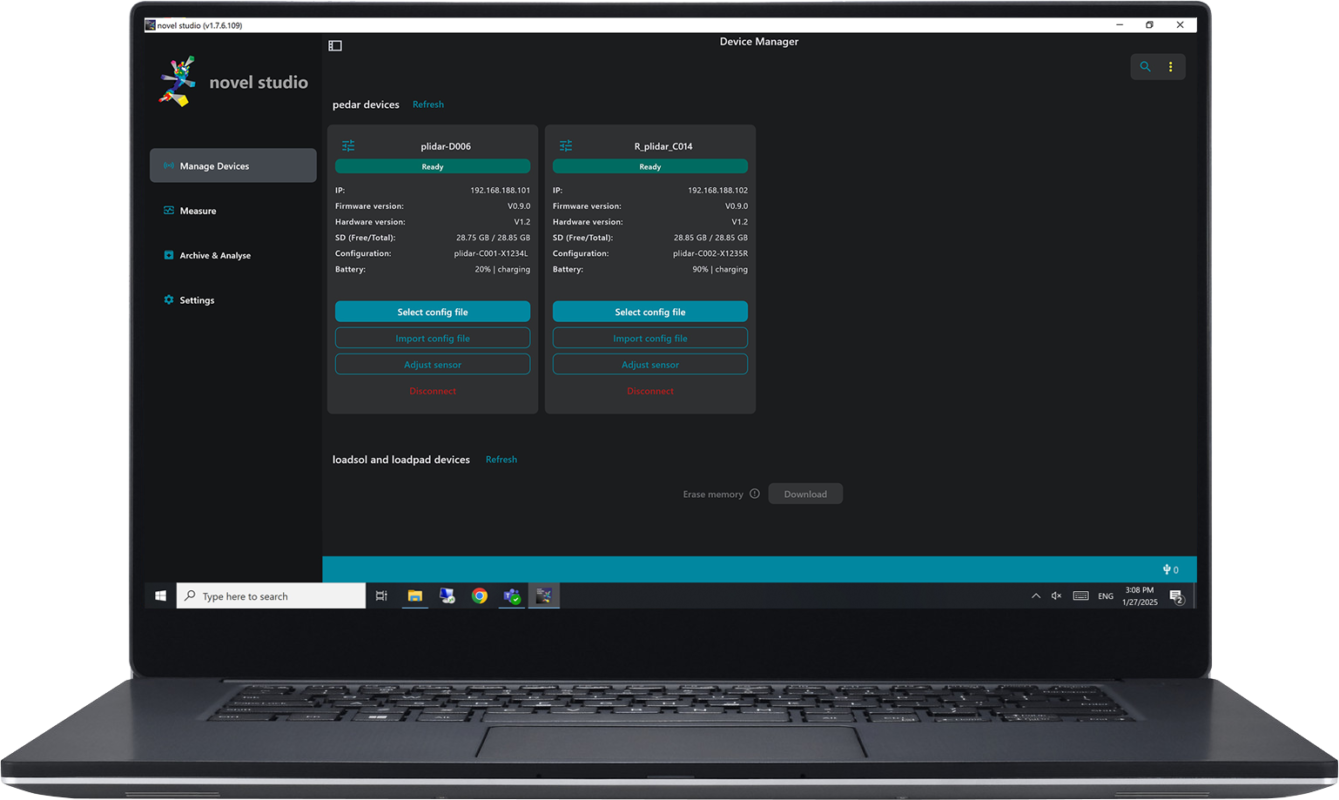
Select or import the config file first. Make sure to select the correct one per device.
Make sure, the device on the app is now “Ready”
If no device is found, check that you are in the correct network, that all network adaptors (e.g. VPN clients) are turned off, no ethernet cable is blocking mdns and the plidar devices are turned on.
If connection is not responding or selecting a config file is not possible, make sure the devices are charged and connected.
Before each measurement, make sure the battery is charged sufficiently.
The device requires a warm-up time of 60 seconds before taking the first measurement.

To download older measurements
Go to “Device manager” and click the little settings icon on the top left of the device
To sync 2 measurements files (left and right) you need to download both raw files and the correct config files used
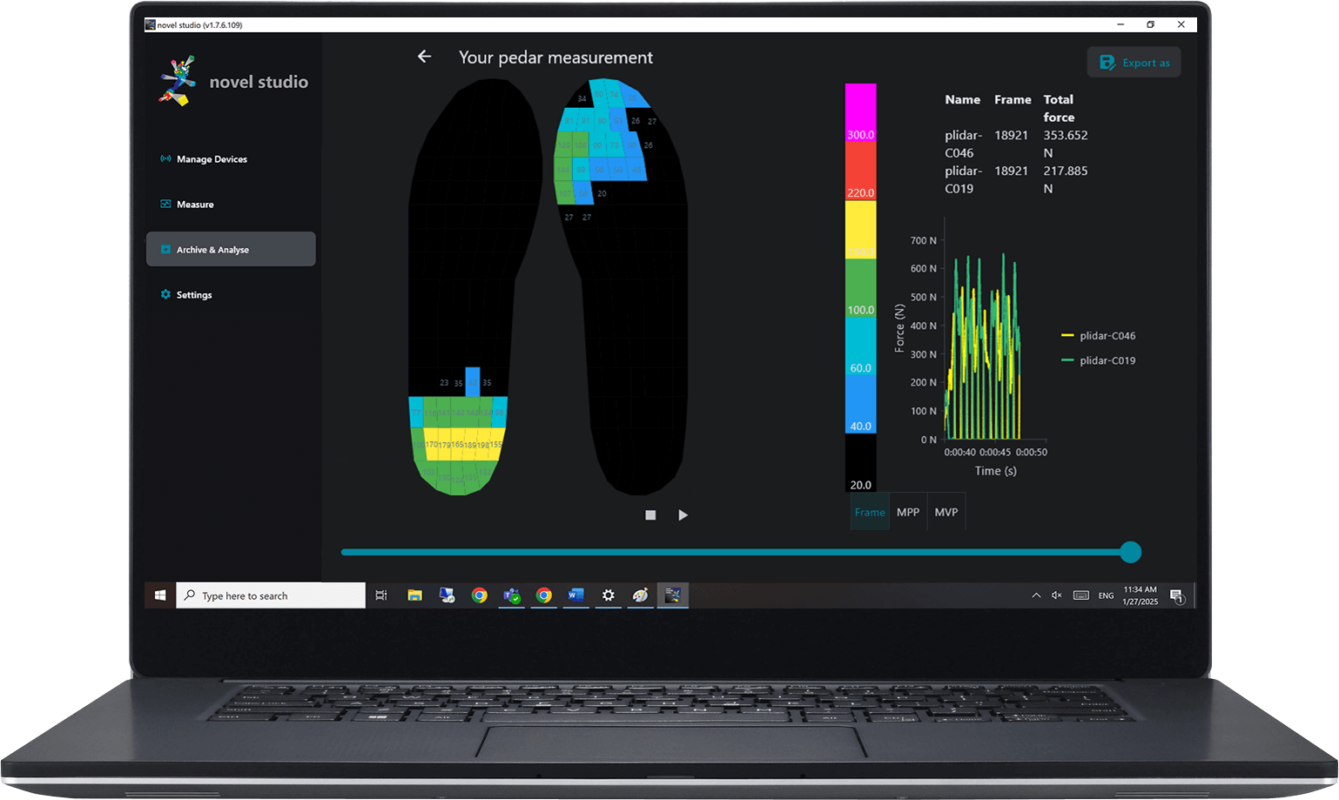
To transfer data you need to open the measurement in Archive and select “convert to” on the top right. To transfer data to pedar Expert, you need “.sol” files. Here you can also export the ASCI data. Be aware, that you can only export pressure data as ASCI as list of cells without geometry data.
We offer a 3D printable file for a replacement cover for pedar electronics devices. This file is provided solely for personal and non-commercial use.
You are welcome to download and 3D print this cover yourself or through any personal, non-commercial printing service.
Important Notice:
This 3D printable design is proprietary and protected by copyright owned by novel.
Commercial reproduction, distribution, sale, or modification of this file or the resulting printed cover is strictly prohibited.
By downloading this file, you agree to use it exclusively for personal, non-commercial purposes.
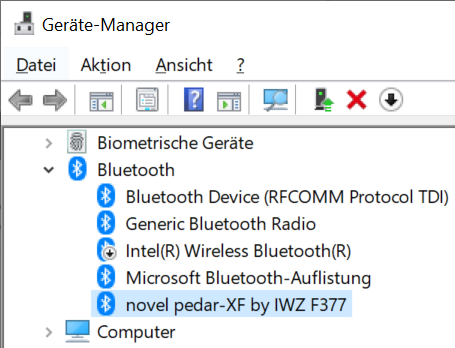
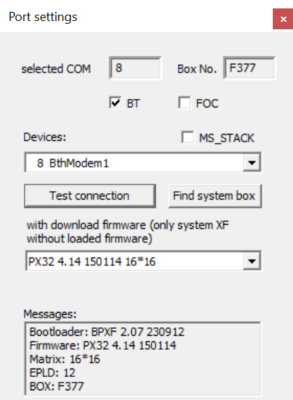
This is how to connect the pedar system to a Windows computer via BT:

Sena Dongle
The insole calibrations should be checked at least every three months (depending on usage).
To improve the signal transmission between the pedar analyzer and the Bluetooth dongle:
Check if the insole connector is inserted into the insole cable connector correctly. The R on the right insole connector must line up on the same side as the R on the right insole cable connector and the L on the left insole connector must line up on the same side as the L on the left insole cable connector
It helps to do some refresh cycles with the charger.
That will work if you have an Ansmann ACS110 charger.
The steps would be:
Note that this will take some days. The charger must be connected all the time to the power source, any interruption of the cycle should be avoided.
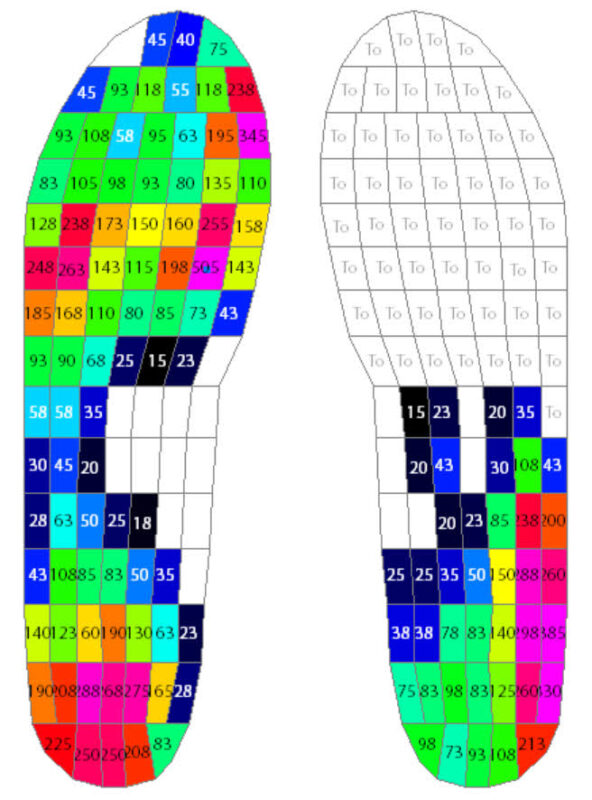
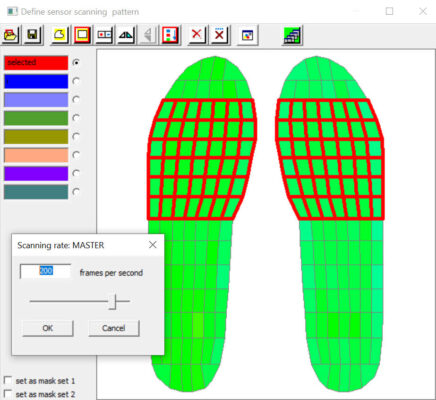
The maximum sampling rate for the pedar analyzer is 20,000 sensors per second. If the number of sensors collected from is reduced, the sampling rate can be increased:

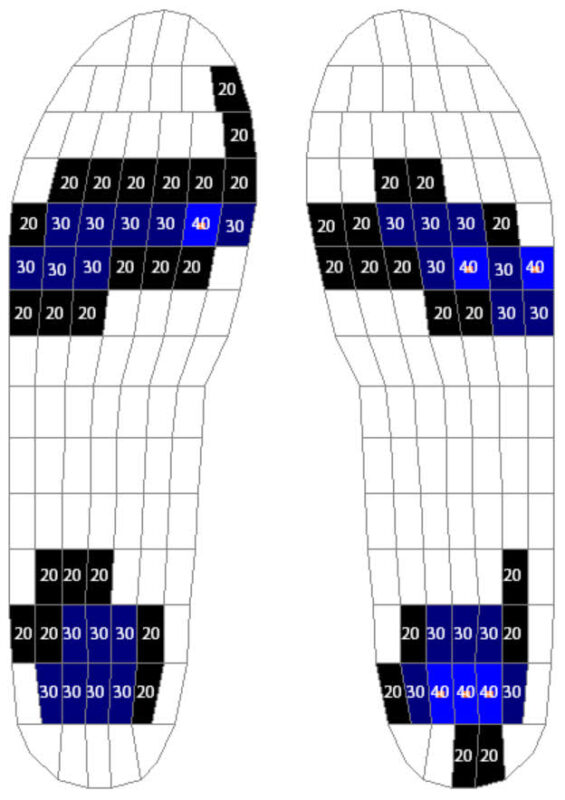
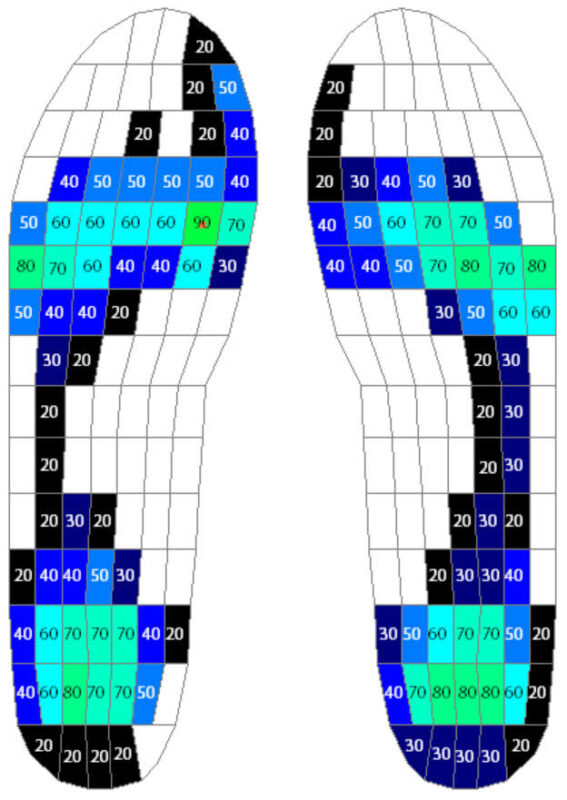
There are three options for the MVP calculation: over all frames, only over loaded frames, and only over loaded sensors:

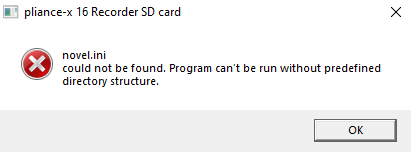
This error is caused by a corrupted cfg file of the pedar software. The cause may be a messy termination of this software, perhaps due to a crash or something similar.
To solve the problem,