
emed support
Find answers to your questions on how to utilize emed
Find answers to your questions on how to utilize emed
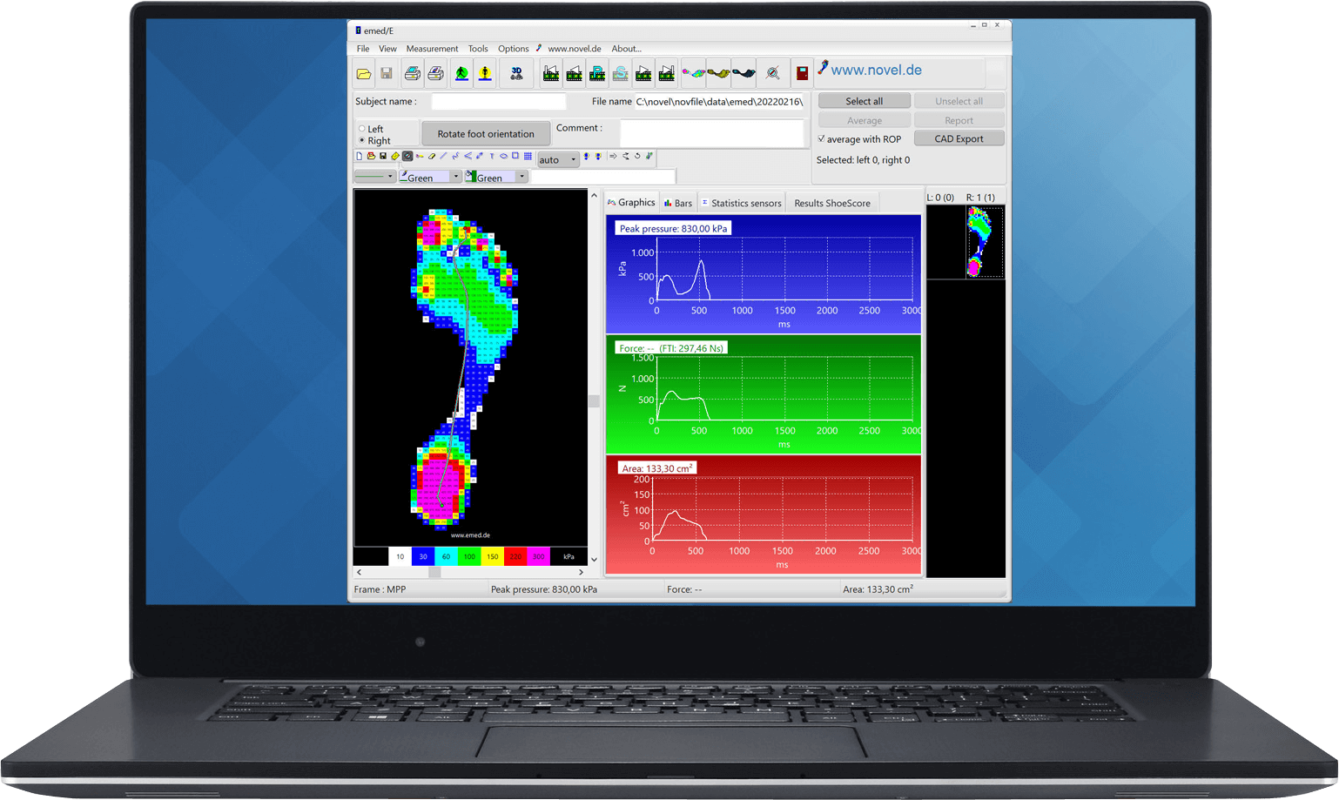
How to connect an emed platform to computer and to record a footstep without using novel database software?
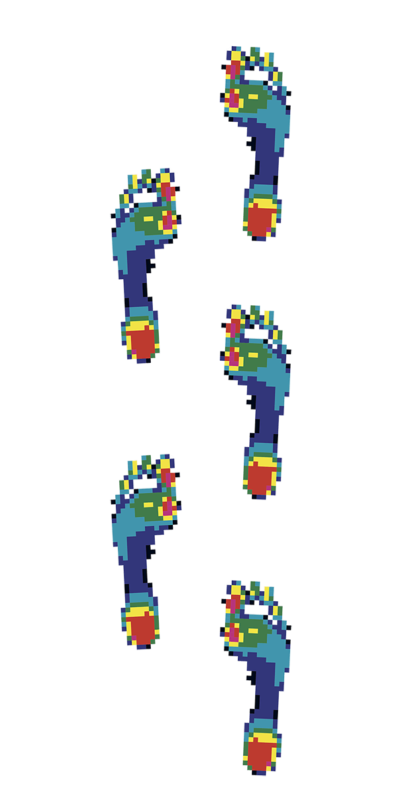
The patient stepped on the platform with two full steps or stepped on the platform with one full step and a half of a step. How do I separate the two steps or remove the unwanted half step?
The emed-x platform’s power cord is plugged in, the USB cable is plugged into the computer, but the power light will not light.
The emed driver was not installed to the computer. After installing the driver (please see the emed manual for installation of the emed driver), the power LED will light when the power cord is plugged in and the computer is powered on.
There may not be anything wrong with the platform. Several things may cause noise on the platform:
The platform’s calibration should be checked every 2-3 years depending on how often the platform is used:
Check that the emed video synchronization cable (the cable leading from the digital video camera to the connector on the emed platform’s video synchronization cable) is properly connected to both the emed platform’s synchronization cable connector and the microphone in port of the digital video camera.
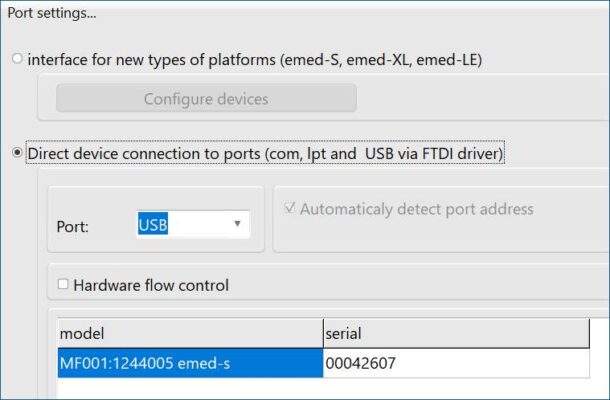
It is necessary to configure it in the emed program, menu point: Options – Port Settings. Not being configured before, it will come up like this:
You can see that an emed-s platform is connected to the PC, but you need to select “interface for new types of platforms…”, and click button Configure devices. This brings you to this Hardware Setup screen:
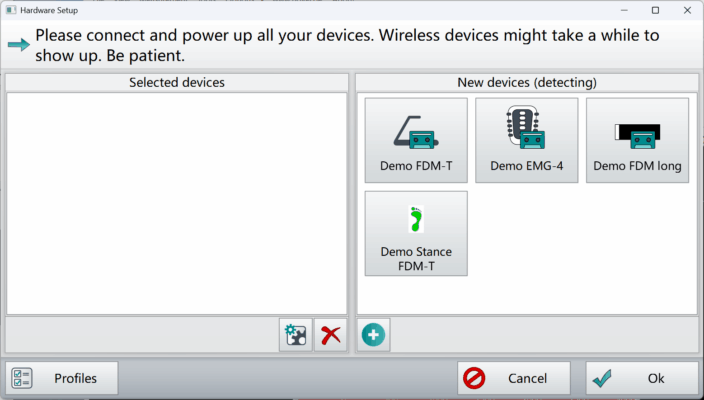
Plug off and plug in the emed USB cable, and now an emed-s icon should appear in the section “New devices…”
Click on it to mark it, and click the ” Plus button (+) “
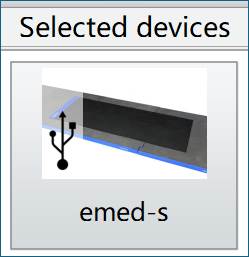
The emed-s icon will be moved to the section ”Selected devices”:
Click the OK buttons and messages should appear “Activating Hardware” and “Connecting to platform”. Now the system should be ready for starting a measurement.
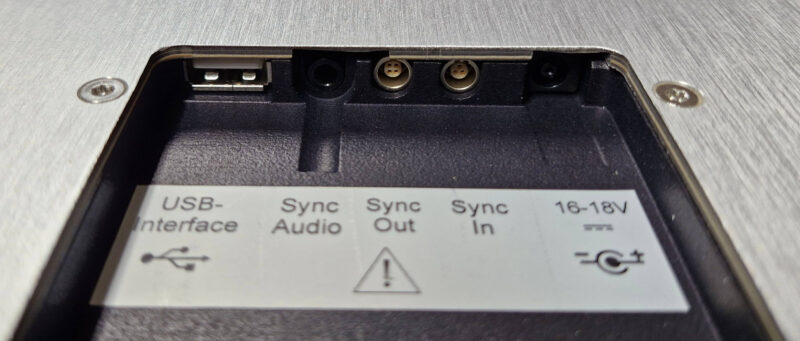
Emed-s and emed-xl come with a sync-in (3-pin Lemo plug in the cable port of the platform) and sync-out interface (4-pin Lemo plug).
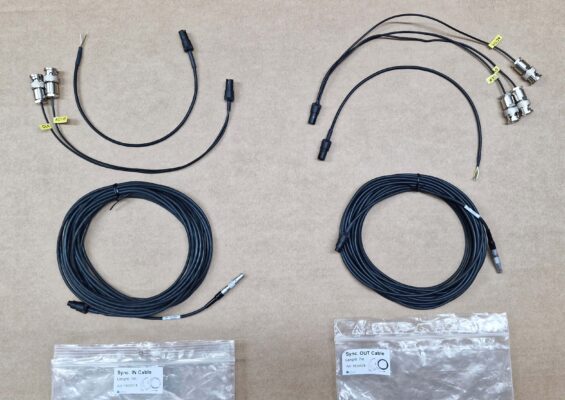
We offer specific cables for this, with BNC connectors on the other cable end: SKU E3135 (sync-out) and E3136 (sync-in)
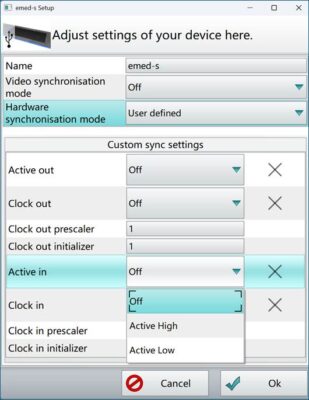
The sync interface is configured in the above-mentioned Hardware Setup screen: Mark the emed-s icon, then click the Edit Properties button and select the sync settings for Sync-in/-out:
During the measurement session in emed, it is possible to:
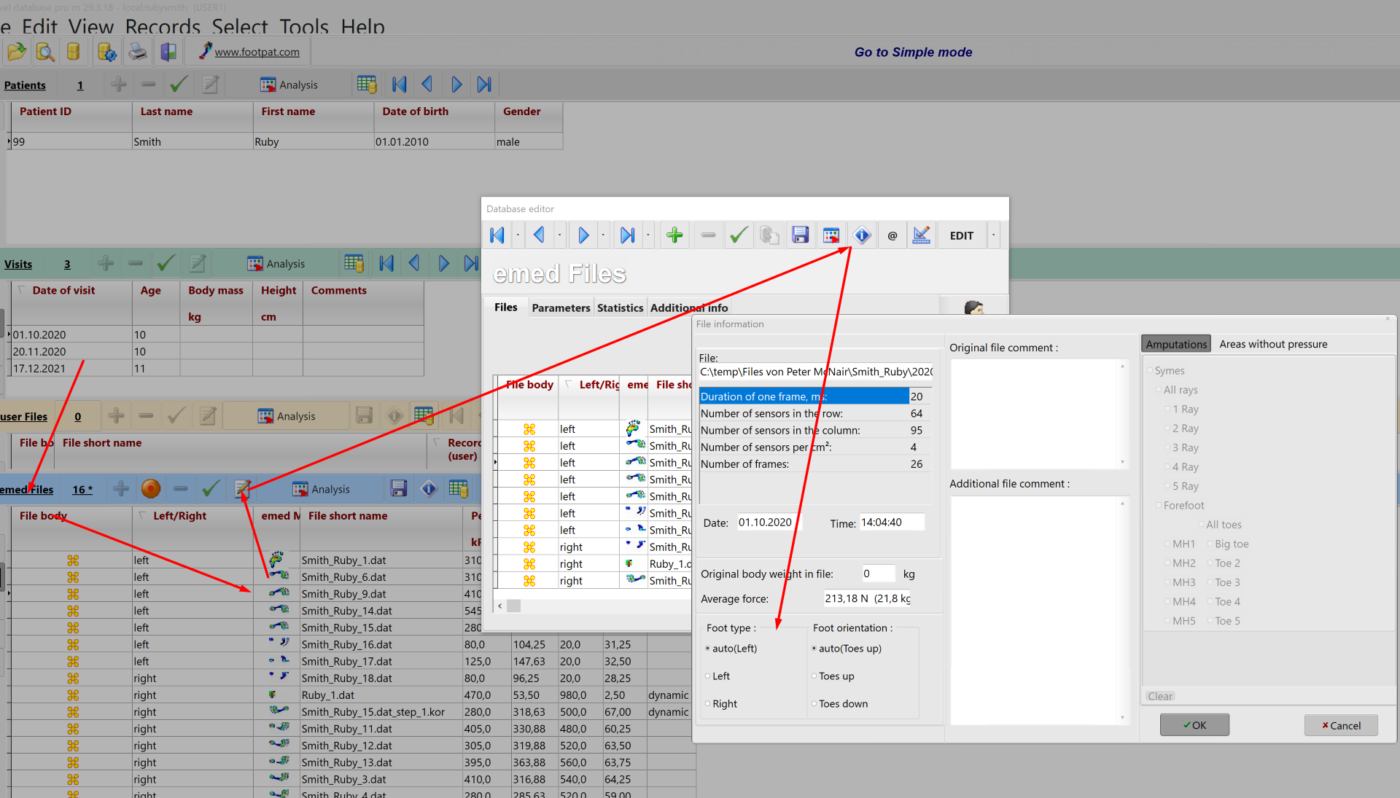
If files are reopened from the database in emed:
In the database:
 Update cookies preferences